Hi there!
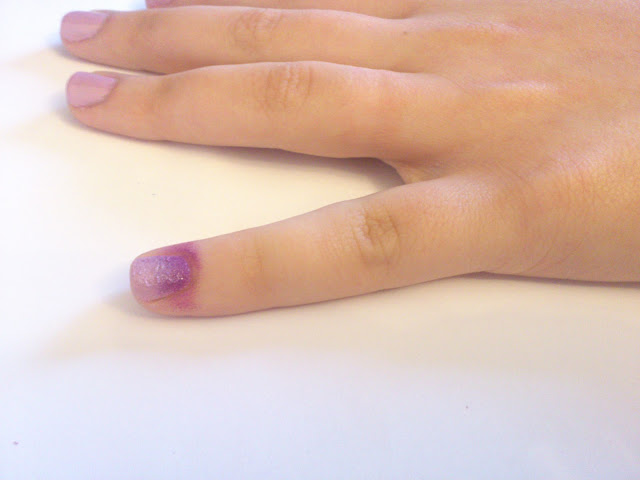
So I decided to share this with you. Ombre hair was quite famous for some time and it seemed that everyone had it. I still think it is super pretty and I'm considering it for myself. Anyway, I though why not put ombre on your nails? It is the first time I did this so I don't know if you will like it or not. My camera isn't the best but I am planning to buy a good one soon enough. I will be going to Poland for the summer holidays right after my Junior Cert is finished so I will do a huge shopping spree and I will definitely post outfits, maybe even everyday.
So anyway here is the first D.I.Y on this blog. So I hope you like it!
1. Essence Nail Polish. No.36, Enchanted Fairy.
2. Essence Nail Polish. No.26, Break Through.
3. Catrice Clear Nail Polish.
4. Nail Polish Remover. Optional
5. Any sponge, must be with small holes.
6. Any glass object that you don't mind getting a bit destroyed. I used a small bowl.
7. Toothpicks
Starting off with clear nails. Make sure you don't have any old varnish on your nails.
Paint the nails with the lighter of the two colours you chose, I picked the light lilac colour. This is going to be your base.
As I said you will need a glass (or plastic) object that you don't mind getting destroyed, it can be a plate or like mine a small bowl. Place 2 lines of nail polish on the glass surface, as shown in the picture, make sure to put a thick layer of it so it doesn't dry on the glass or there is enough for the sponge to soak in.
Using a toothpick quickly blend the line between the polishes together. This doesn't have to be done but I think it looks more blended in and looks better.
Here is the most important part of the whole process. If you choose to put the dark colour at the bottom and making it lighter as you go up, this will make your nails look longer. If you choose to go from light on the bottom to the dark on top you will make your nails look shorter, you choose.
Press the sponge onto the varnish and go to the next step.
I decided to make the nail look longer. So press the sponge on the nail.
It should look something like this. Don't worry about the mess, you will wipe it off later.
Take the clear nail polish and go over the nails. Don't put much on it though, there already are many layers of nail polish, you don't want it chipping off too fast!
And you are done!
I hope you liked this, this is my first D.I.Y making this was really fun so I probably will do more soon.
I'm sorry about the quality of the pictures but my camera is not the best one. So, I suppose this is it for today.
Much love, Weronika


That looks class. I have to try it by myslef :)
ReplyDeleteBy the way cool blog :)